Following another painting frenzy I've managed to hugely bolster my Mechanicum heavy support choices! Two more Thanatar Siege Beasts!!
These two Thanatar have more static poses as i wanted them to look as though they were just about to fire their Plasma Mortars.
I changed my approach on the glow on the plasma coils on the rear of the weapon. I basically replicated the plasma glow i did on the Myrmidon Secutors, which i much preferred! I actually went back to the first Thanatar and updated the glow on that one as well.
I glued the ammo belts for the mauler Cannon together before heating them in hoot water and posing them. This was SO MUCH EASIER! The first Thanatar had to endure hours of posing as i attempted to attache each ammo feed separately. Nightmare...
I managed to achieve a good level of shading on these Thanatar.
So, the Plasma Mortars. Big change from the first Thanatar, as i modelled these Mortars with their firing flaps open with a big chunk of OSL in the middle.
I was really pleased with this round of OSL, as i took a bit more time to achieve it. This was done with the airbrush, but i used 3 different layers of successively lighter blue. Basic i know but it seemed to work well!
Here's the Thanatar family portrait. These bad boys can squad-up in teams of 5!!! WTF?? I'll only be running them as a 3, but they're just as nasty.
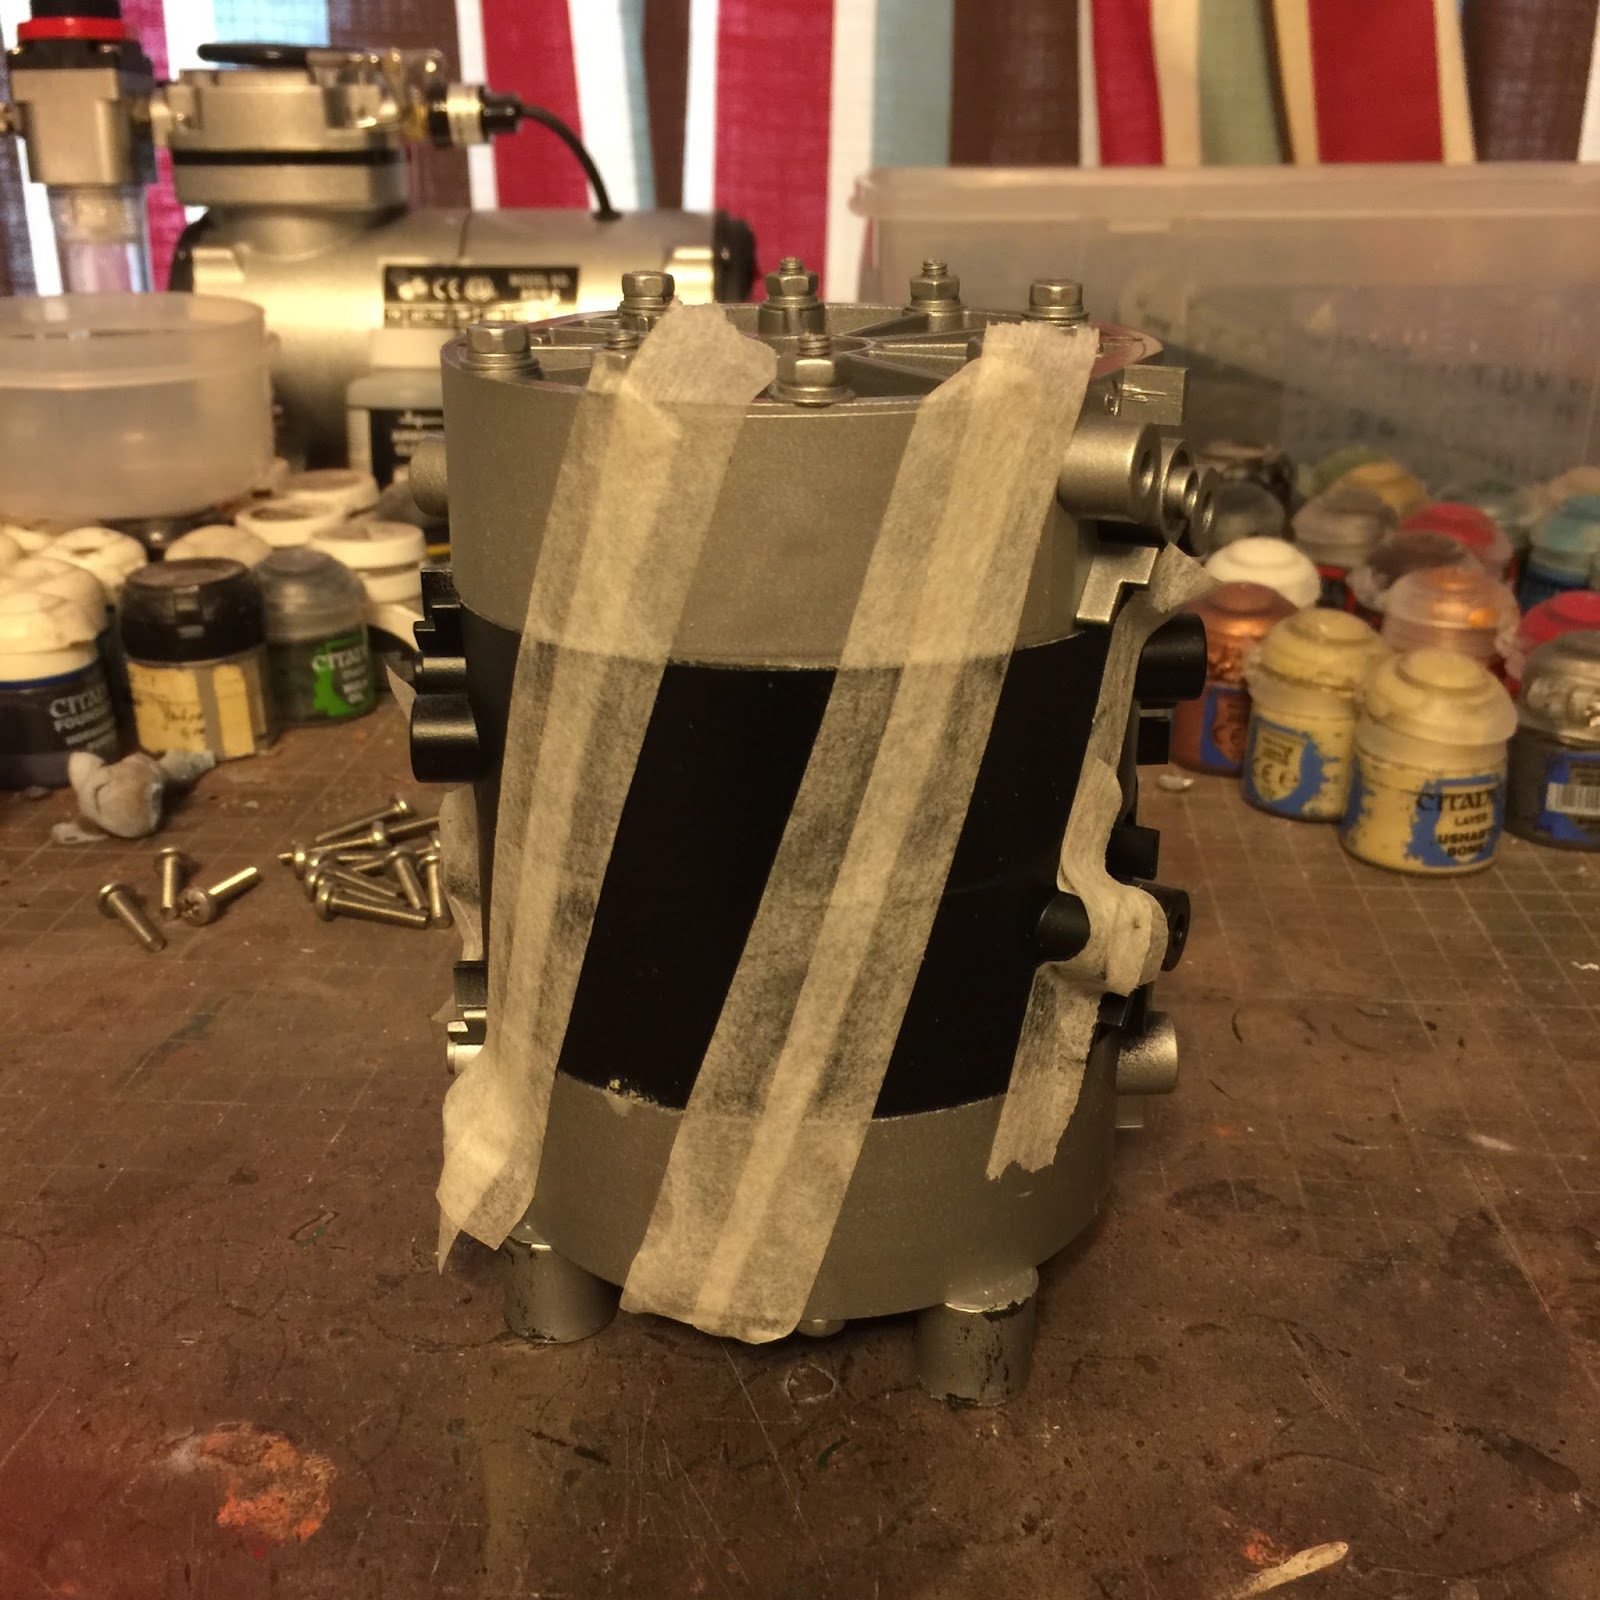
Finally here's is some WIP pics I took of one of the Tanatars along the way.
More Mechanicum action soon.
The GuGrave
Thursday, 13 August 2015
Friday, 7 August 2015
Legion Vehicle Sponson Caps
So this is a cool idea that I originally saw on Mordian 7th's blog a few weeks ago. It was a cap that covered the weapon sponsons on Legion vehicles when the upgrade wasn't in use. I liked the idea so much i decided to give it a go myself!
So i started off with a 28mm base (these are the old ones mind, not the new larger GW ones) I sanded the surface flat to give it a smooth texture.
The base on its own is a bit bare, so i needed to add some rivets. I saw a rivet technique a few years ago that i wanted to try. It uses layers of PVA glue to create the rivets. I applied the PVA with a toothpick.
Simply dot on the glue where you want to rivets to be.
It only takes about 10 minutes to dry in the sun. I found that i needed 3 passes with this technique to ensure i got enough height with the rivets. With such a short drying time it wasn't a problem.
I then added some Legion iconography.
Painted it in the colours of the Legion!
And there you have it. I did of course forget to mention that this cap is magnetised, but i guess that goes without saying. As you can see the cap does protrude a bit from the hull of the tank. This is due to the way i built the tank. Only part of the assembly for the sponsons is magnetised, meaning that some of the assembly is glued to the hull. As this is a retrofit i couldn't rectify this. I don't think it looks that bad though!
I will probably make another set or two of these for the other Sicarian model of tanks. Give it a go yourselves if you like the idea!
The GunGrave
Monday, 3 August 2015
Blessings of the Omnissiah: Avenger Strike Fighter 2 - WIP 2
After the successful conversion, i i wanted to quickly get some paint on this fighter. The scheme is the same as the first Avenger but i wanted to make sure the aircraft markings were different as to distinguish each fighter slightly.
I went with diagonal red striping and further utilised that cool cog stencil i picked up a few months ago. This proved quite a pain to apply, so i had to remove the engines (after some considerable painting had been done) I was able to do this with the minimal of damage :-S Once completed i was glad i took the time to do it!
Sticking the engines back on wasn't a problem. I could see the full effect of the markings now!
Just a bit of slight weathering and an oil paint wash and avenger 2 is complete!
The GunGrave
Tuesday, 21 July 2015
Terrain: Industrial Generator
Its been AGES since I've knocked out a piece of new terrain. This is mainly due to storage constraints, but when i saw this bit of junk i couldn't resist!
I was in the Technicians Room at work the other day and found this in a box marked for disposal. Its a small pumping unit. As soon as i saw it i started thinking how i could repurpose this - to me it looked like a Grimdark Generator! So i boxed it up and took it home to see what i could do with it.
A Terminator Chaplin for scale. as you can see its quite big for 40K. It would even be big enough for some LOS obstruction for Knights.
So first things first, it was cleaned and undercoated. I used Army Painters Plate Metal for this.
Once dry i removed the smaller motor units, blocked out the middle section in black and tapped it up ready for hazard stripping.
Chucked on some yellow. I went old-school here with one of the old GW Foundation Paints 'Tausept Ochere'. I think these are one of GW's better paint ranges, i wish they still did them. They're nice and thick, perfect for stuff like this.
Finished hazard stripes.
For the smaller motor units i sprayed them bronze with the airbrush.
Then reattached to the main unit. They were screwed on, so dead easy to remove and attach.
Finally, a generous wash of black oil paint diluted with white spirit. I also applied a small bit of GW's Oxide paint to some of the rivets and joints.
Voila!!! An Industrial Generator ready for the battle field. I'm very pleased that i managed to make something this good looking out of a bit of junk i found in a box at work!
When i was next in work i had another rummage through that box and found another pump unit! I'll be having that! I quickly made a second.
When i manage to get them in a game I'll upload a few pics.
The GunGrave
Wednesday, 15 July 2015
Blessigs of the Omnissiah: Krios Venators
So the painting benders are coming thick and fast at the moment! I'm finding that if i have replications of units that i want to get done, I'm prepping them all at once to save airbrush and undercoating time. This inevitably leads to a swift completion; these only took me 2 and a bit days.
I've been using a slightly lighter rad to create the contrast on the hulls of the Mechanicum tanks recently. I'm loving the results that the extra sharpness is giving me. Its not to much either, as the Mechanicum tanks have so much detail and brass on them at its broken up nicely.
The contrast worked out great on the beefy gun shields the Krios Venators are rocking. I after I'd completed these two Venators i actually went back and re-painted the gun shield on the first Venator.
Here's the squad together. I will be fielding them like this, as was the aim all along. With 4 S9 AP2 Ordinance 4 shots PER Venator (and only 150pts each!) this unit should be turning enemy armoured units to ash!!
Thursday, 9 July 2015
Blessings of the Omnissiah: Avenger Strike Fighter 2 - WIP 1
So its time for a bit more air support for the Mechanicum (not that they need it much these days!) 1 Strike fighter just isn't cutting it, so i dug this guy out of the 'To-Do' box.
First things first, i had to add a splash of Mech to the cockpit. The Mechanicum being the Mechnicum, uniformity isn't a top priority. So although I've based this Avenger's modified cockpit is based on the first one, its not the same. On this model i decided to save myself a bit of work and actually incorporate the original cockpit canopy into the design. This saved me having to block out the space in plasticard and build on that.
As you can see, i used another 1:72 scale aircraft cockpit to create the cylinder shaped head the Mechanicum are fond of using. Adding a bunch of pipes helps to mech it up more.
I used some cables that were left over from Heresy Legion kits for the 'power source' at the rear of the aircraft.
I didn't bother modelling the definitive heavy stubber on the first Avenger, as the first design required me to remodel the cockpit in plasticard which was a pain. However, whist rummaging for some bits, i found a leftover main assembly for a heavy conversion beamer for a Legion Predator! This worked perfectly as a rear armament for the avenger, whilst maintaining the aesthetic! I do have one more so I'll be replicating this on the third Avenger.
Finally, i utilised some spare punisher Cannons to proxy as Autocannons. The autocannons i had in my bits collection all seemed a bit to small.. I didn't have any more Sentinel Autocannons which i used on the first aircraft so this was a great alternative. I also added some heavy bolter ammo magazines from unused sponson heavy bolters on legion vehicles. They were a perfect fit!
They are magnetised of course, and look much more bad ass than a regular aircraft autocannon
I'm looking forward to getting this guy painted up!
The GunGrave
Friday, 3 July 2015
Heresy Era Death Guard: Legionaires
Just a quick post today. I managed to quickly complete the final five Legionaires for the Death Guard force.
Theres not much left to do for the death guard. Theres one more Contemptor to do and one more Sicarian. After that...who knows! I think a family portrait is overdue though.
The GunGrave
Theres not much left to do for the death guard. Theres one more Contemptor to do and one more Sicarian. After that...who knows! I think a family portrait is overdue though.
The GunGrave
Subscribe to:
Posts (Atom)