Monday, 12 July 2010

Valkerie 1 Progress

Today i completed laying down all the base colours for this Valkerie. And not as minute to soon, as my HQ and Platoon Command Squads arrived today, with a second Elysian Squad being dispatched on Friday. I used the Primer i got from Army Painter as the base colour for this Valkerie (mentioned in my last post) as I'm very pleased with it! Furthermore when i came to touch up the hull after painting the base colours, i found that it was a virtually identical colour to GW's Desert Yellow, which is what i use for the combats on the Elysians. This is good because it will save me a lot of time when churning out my squads!!

I just have the weathering to do on this bad boy, and then I'll move on to the scenic base! Looks like this regiment is getting off the ground!

As i apply the weathering, I'll also be putting together a tutorial on my methods (i recently completed a similar one on my Krieg Blog). Hopefully the techniques will be of some use to you all!
Would love to get some feedback on this birds colour scheme as I've got another four of these to do, as well as a Vulture, so i want to get it right!

Laters

Sunday, 11 July 2010

On the Table/Landing Pad.....

While I wait for my Krieggy Boys to arrive, I've resumed my work on the first of five Elysian Valkeries! This evening i finished off the interior and constructed the Valkerie itself. With any luck I'll get it sprayed with the new Army Painter Primer I mentioned in my previous post and get the base colours on tomorrow. I've also had a good idea for the scenic base, which was inspired by another blog post i found, but more on that later!

Laters


Friday, 9 July 2010

Finished Vostroyan Sentinels

Well, as the title suggests, the Vostroyan Sentinels are complete. The two Sentinels I currently own are the old Armoured versions, but these two were the new kits, and I was very impressed! I love the Sentinel as a unit but more as a model. Its one of my favorites, and the new kit has really done it justice! I hope it shows in these pictures!

After giving Forgeworld a royal ear-bashing yesterday about the lateness of my 'Express Delivery' order, my Kreggy boys and some of my Elysians will arrive tomorrow. Work will have to begin immediately if I'm going to get the Krieg units complete by the end of the month! Watch this space!

Laters


Thursday, 8 July 2010

On the Table Now.....

After being bitten by the tournament bug back in May, I've been invited to my second tournament by a mate! It is the Bristol Vanguard tournament, and is taking place on the 31st July and the 1st August.

There are three different point limits, and each player must have a list for each limit. These are 1000pts, 1500pts, and 2000pts. 5 battles are to be played by each player, and the points will vary between the values mentioned above. This only causes some minor list problems for me, but unfortunately, some very large financial problems! Reason being, I'm entering my Vostroyan Firstborn for the 1000pts and 1500pts, and my Kreiggy Boys for the 2000pts!

For the Kreiggy Boys I need 2 Grenadier Centaurs, 2 Grenadier Squads, and 2 Grenadier Special Weapons. These are on their way as we speak (if Forgeworld have managed to be slightly less incompetent than they usually are!!) For the Vosties I only need 2 Armoured Sentinels, which are on the table now!

The Sentinels are both the armoured variant and both are armed with Plasma Canons. I got as far as building and basing them today, and hope to start painting tomorrow. With any luck the Forgeworld will be here tomorrow (along with another Squad of Elysians and a HQ and Platoon command squad - check out my other blog for details on that!)

Laters

Tuesday, 6 July 2010

Army Painter - A Quick Product Review

I was reading a product review of the Army Painter product range on another blog the other day (I forget which!) and decided to give it a try. For those who haven't heard of Army Painter, its a company that manufactures spray primers in a wide variety of colours, as well as other useful painting gubbins! The two products that I decided to purchase were the Spray Primer Desert Yellow, and the Quickshade: Strong Tone. I wanted to try and use these products to speed up the painting process for my Elysians. Although i do own an airbrush, i find using it is not always as straight forward as it seems, and problems frequently occur.

Firstly, the spray primer. Well, it does exactly what it says on the tin! Its simply a spray paint of your chosen colour, of which Army Painter offers a large range. Instead of undercoating, then base coating your models, this product does it in one spray. Nice, neat, and simple.


The second product is Quickshade. This is a product designed for shading your models by dipping them straight into the pot of Quickshade! The product comes in three strengths, and i went for the middle one, Strong Tone. Now, I've never been a fan of "dipping" but the results were quite convincing. The Quickshade is also a gloss varnish, eliminating another stage of your painting process. The only problem with this is that you may not want a gloss varnish on your models. I know i certainly don't! However, the gloss effect can be countered with the application of a Matt Varnish over the top (I used the GW one) This effectively gives you a double layer of varnish, hopefully making your models more durable.


The Quickshade is meant to be used once all of your base colours are on the model. I guess the highlights can be added before or after the Quickshade, this down to personal preference. Once the model is dipped, you must shake or wipe off the excess. If you don't you will get localised areas of very strong shading, which can look a bit rubbish!

To see the results for myself, i used an old 1st Ed Space Hulk Genestealer! I'm not quite brave enough to crack on straight away with my beloved Forgeworld models! The pictures below show the model after being sprayed with Primer and then dipped in the Quickshade. In this example, I'm very happy with the result! I have some more squads arriving tomorrow, both Elysian and Krieg (see my other blog for the Kreig!), so i hope to apply these products for real soon!


I hope this has been helpful to you all, and i strongly recommend you check out Army Painters website and take a look! Enjoy!

Friday, 25 June 2010

Weathering Tanks - Kreig Stylee!

I've often benefited from reading someones helpful tutorial on their blog. It occurred to me that i haven't contributed to the blogging community with a helpful (or unhelpful!) tutorial of my own!

I've been asked once or twice at my gaming club how i weathered my Kreig tanks. This will now form the basis of my first tutorial! I hope fellow Korpsmen and gamers at large will benefit from this as well!

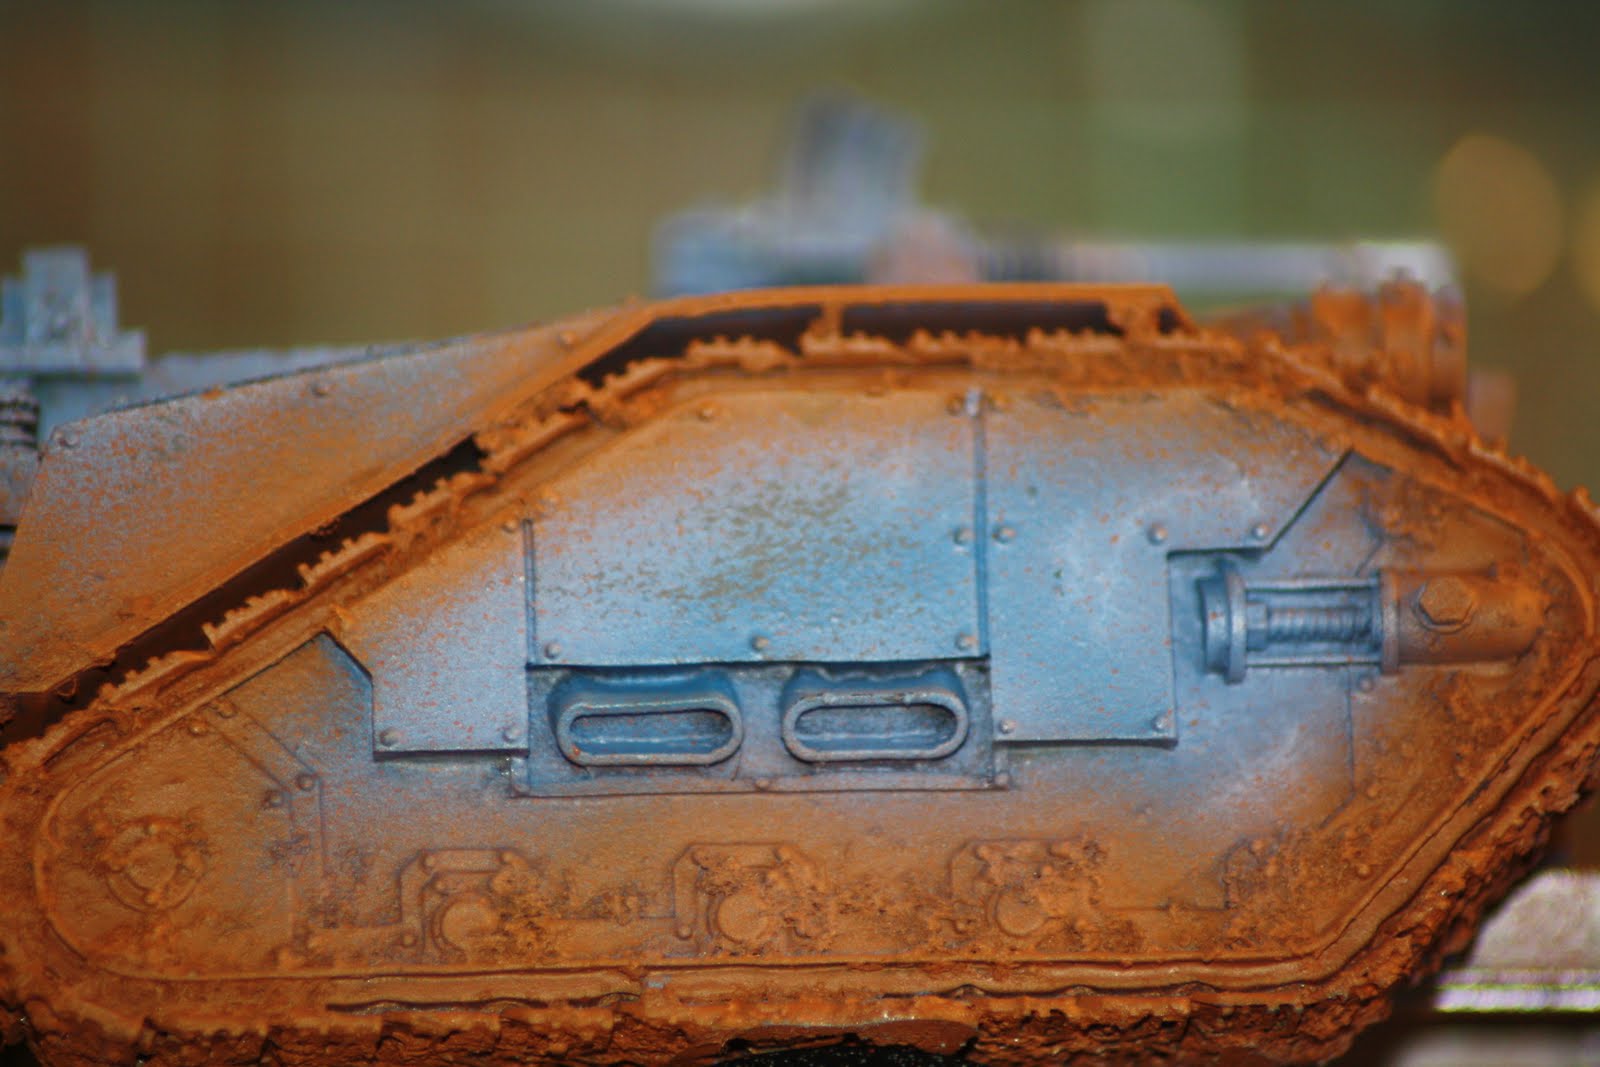
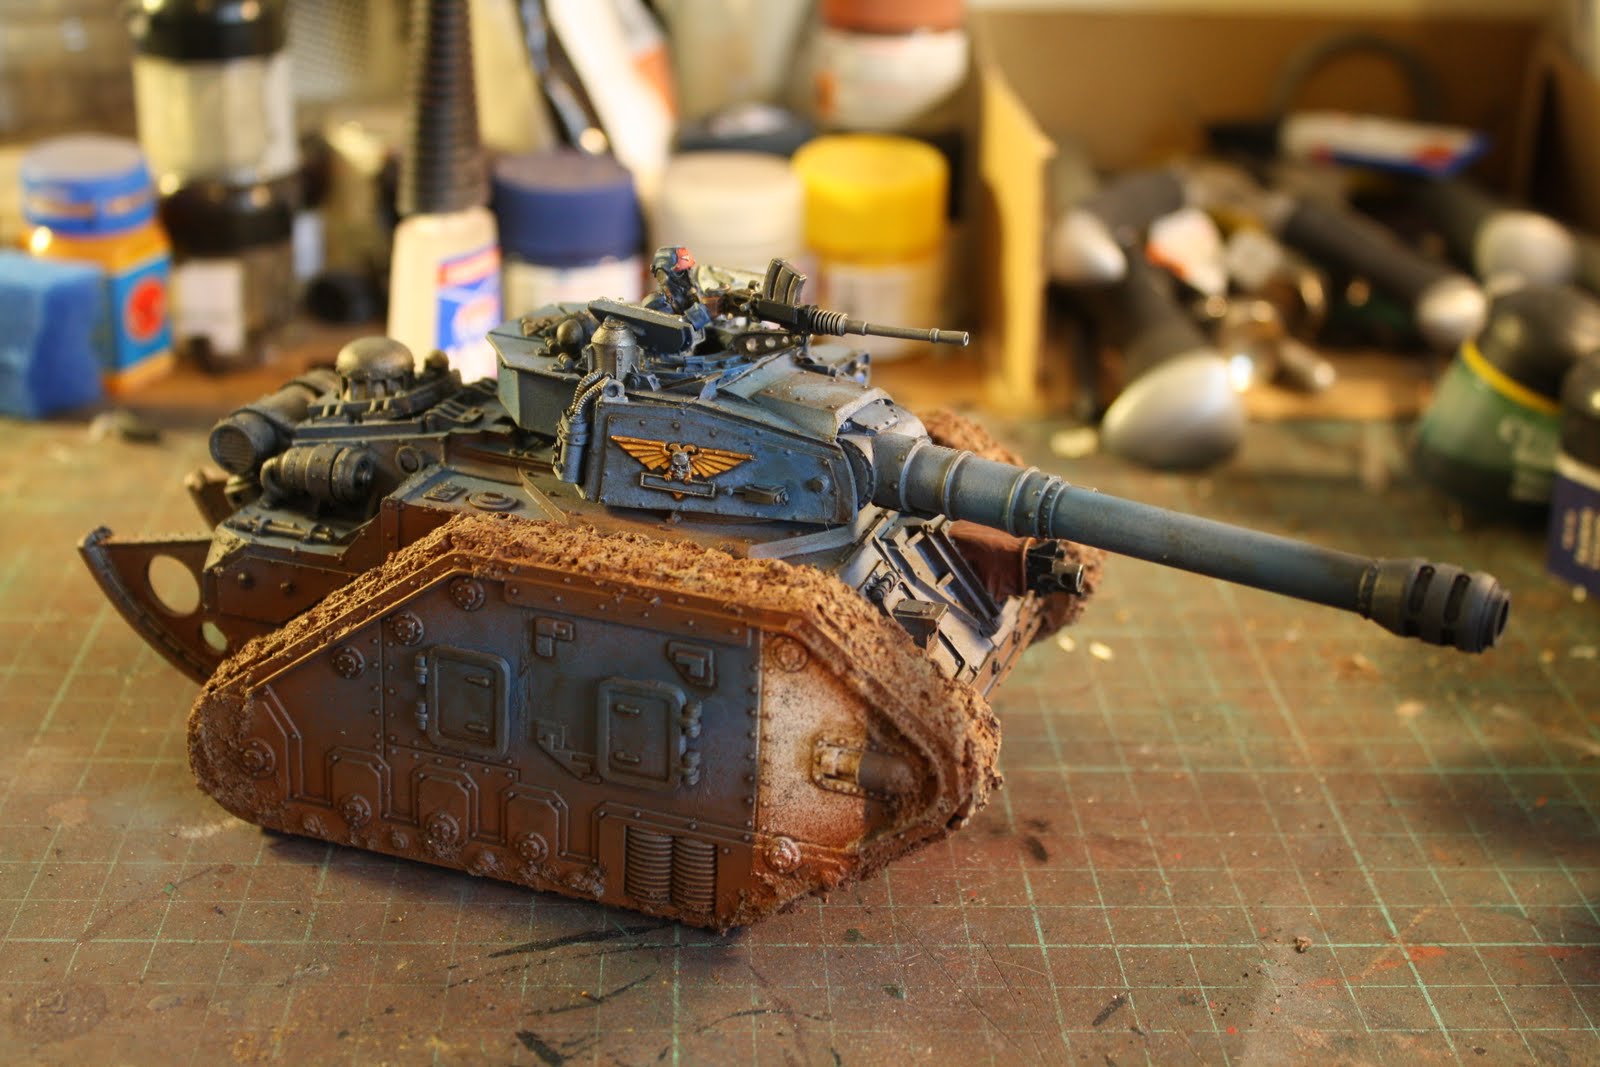
The Forgeworld Mars Alpha Pattern Vanquisher - quite possibly the coolest of all tanks! Firstly i undercoated the tank in Shadow Grey using an airgun. Afterwards i applied the mud to the tracks. This was done by mixing Horby Railway Scenics sawdust with some PVA glue. This makes quite a satisfying gloop that makes excellent mud! Apply liberally!


Once the 'mud' has dried, i then added the camouflaged stripes to the hull of the tank. This was done by applying a mix of 2:1 Regal Blue : Codex Grey with an airbrush.


Once the camouflage had dried, i moved on to paint the mud. This was a simple application of Bestial Brown with an airbrush, applied to the tracks and the immediate hull areas around the tracks (mud splatter) At this stage i also applied a white vertical stripe to the front section of the hull to signify company markings. For this i just made a template out of paper and placed it over the hull of the tank, and used a Skull White spray.


Next i wanted to create a chipped paint look. This technique was taken from the Imperial Armour Masterclass book (which i highly recommend by the way!)

Take a sponge; the foam out of a carry case is very good! Then coat the end of it in some Charadon Granite and wipe off the excess. Gently apply the paint using the foam to the areas of the hull which are likely to be worn (hull edges, hand rails, hatches, etc) This gives the paintwork a great chipped effect! I actually used a Centaur for this example. The photos of the actual Vanquisher didn't come out to well!


Once the hull is suitably 'chippy', the rest of the hull needs to be weathered and looking, like its been kicking ass in the field for a while!

Again, this tip is taken from IA Masterclass and is quite invaluable when weathering tanks. Firstly you'll need to get hold of some Winton Oil Paints, in this case Burnt Umber and Lamp Black. Next, a suitable mixing surface. You will need to apply a small amount of the oil paint onto your mixing surface and dilute it with white spirit. The dilution is totally up to you, but the thinner the mix, the lighter the weathering you'll achieve. The thicker the mix, the heavier the effect (which can look crappy) Its a case of trial and error, but keep at it!


Once your happy with your mix, apply it to all the rivets, creases, nooks and crannies on the tank. It'll look like the accumulated dirt and oil of many days in the field, and give the tank and excellent weathered look!


For the Vanquisher i used the Burnt Umber mix for the hull, and the Lamp Black for all the metallic areas. It works equally well on both surfaces.


That's it for the weathering! Finnish off the details on the tank and your done! For the end of the barrel i used MIG Weathering powder (the forgeworld ones would also do) A very quick and easy way to effectively weather your tanks. All this can be done in just an hour or two (or three!) and the results are quite satisfying. Please feel free to ask any questions! Enjoy!

Wednesday, 23 June 2010

Elysian Squad 1 Complete

FINALLY got these guys done! Wouldn't have taken nearly as long if i hadn't had some crappy shifts at work! Never mind, the end result was worth the wait! Their Valkerie Transport has been undercoated, so I'll be starting on the interior before i assemble that. Enjoy the pics!

Sargent, Vox and Demo Charge (converted to an ammo box!)


Troopers


Troopers and Grenade Launcher


Whole Squad