Wednesday, 1 December 2010

The Final Valkyrie Base - Water Effect Tutorial

Just got back from my gaming club after taking the Elysian list out for another spin. I'm pleased to report another victory, after a pretty one sided battle with some Death Guard! The more i play this list the more it becomes my favorite!! I guess i should wait until i loose a few before making a final evaluation, early days!

I completed the final Valkyrie base this morning. As described in the last port, this base will resemble a cracked wadi with a small stream running at the base.

The paint scheme of the wadi itself was simple and applied quickly. The water is what i really wanted to focus on. In order to do this i referred to Imperial Armour Masterclass, as there is a nice piece on creating depth in pools of water. I've documented here how i went about it, but i have to admit it didn't turn out as well as I'd hoped! I'm not unhappy with it, but i think it could be better!

The colours i used for this effect are: Scorched Brown, Dark Flesh and Beastial Brown, as well as a wash from the old-school Brown Ink, in that order.


Firstly i did the obvious and mask off the areas that i didn't want to paint, as id be using an airbrush.
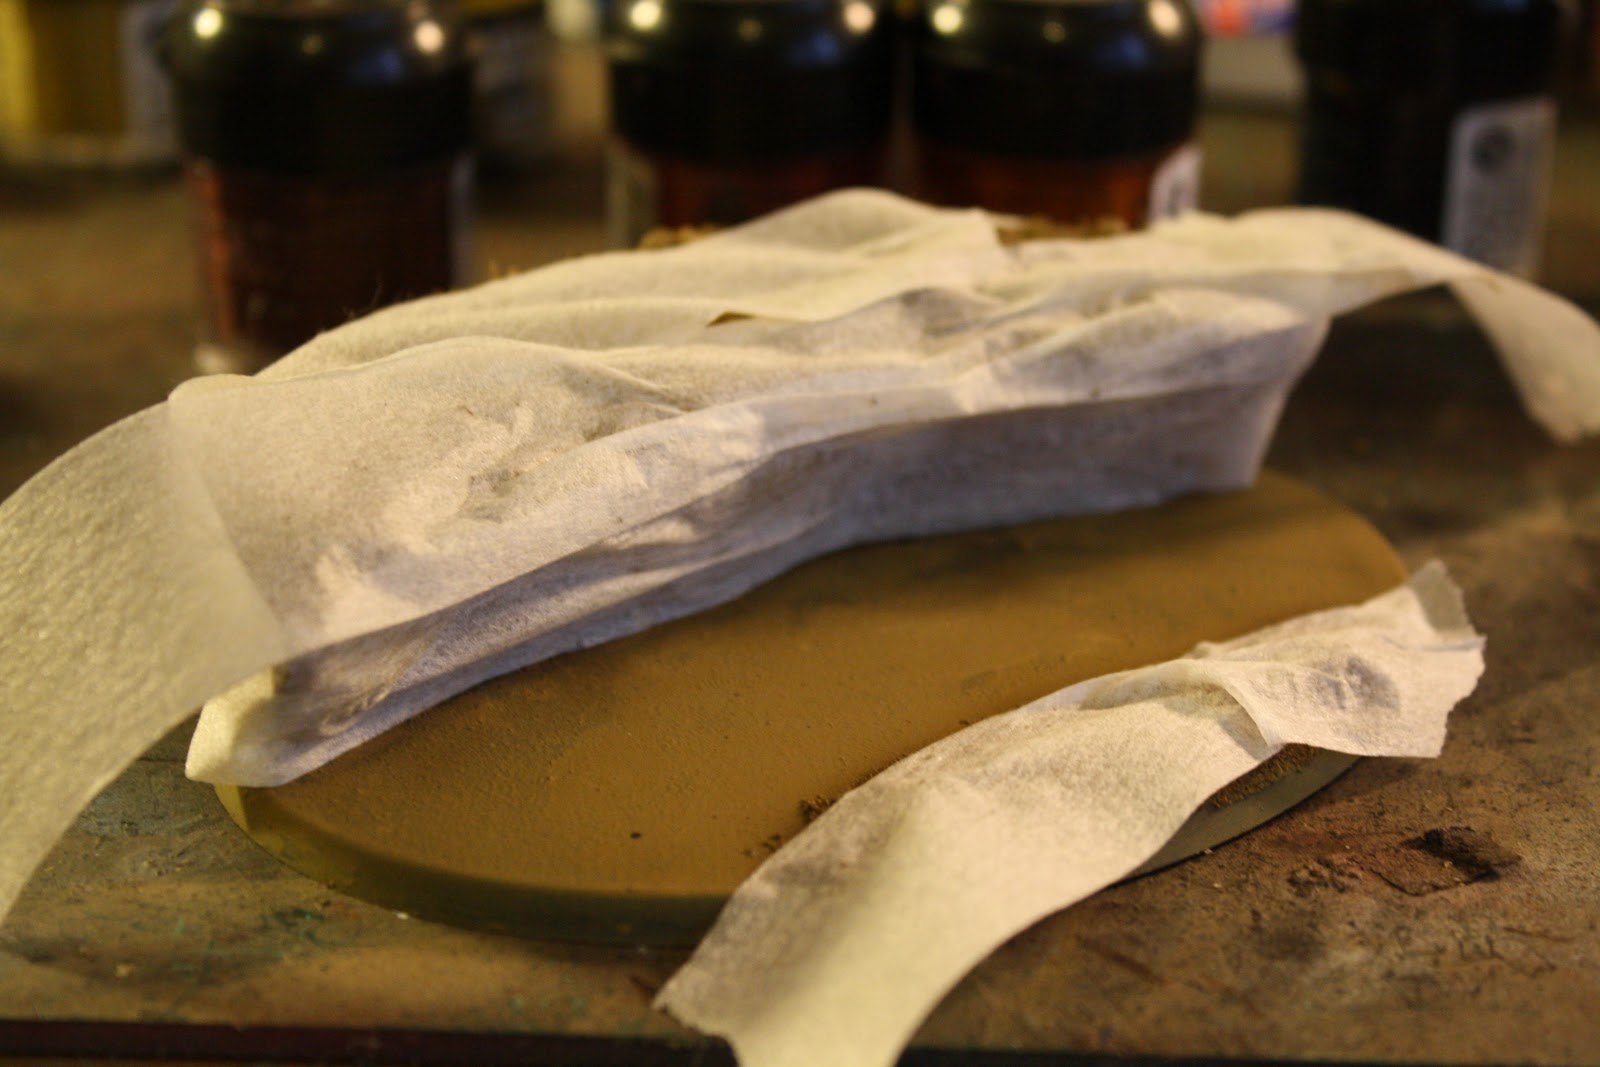

I then carefully applied the first colour Scorched Brown to the whole riverbed using an airbrush. This colour will represent the deepest parts of the stream.


I then airbrushed the Dark Flesh onto approximately half of the riverbed. I was careful at this stage to blend the colours as seamlessly as possible. I had to apply about three coats Dark Flesh to get the right shade, as the Scorched Brown was a little dark! This colour represents the mid-depth section of the stream.


The final colour Bestial Brown was then added to the riverbed closest to the shoreline (not the base of the wadi) This colour represents the shallowest area around the stream, and was applied to about a quarter of the riverbed.


Next i added some watered down Bestial Brown to the extreme edge of the shoreline using a paintbrush. This will represent the shallowest part of the shallows!! Again i was careful to blend the colours together as much as possible.


And FINALLY, the whole riverbed was washed in old school Brown Ink. This stage really ties everything together, and the colours seem to blend together really well! By now you should get the impression of deep water at the base of the wadi and shallow water at the shoreline.


To complete the look i added some Citadel Water Effects to the riverbed. This is the end result of about three layers of Water Effects ensuring the brushstrokes follow the direction that the stream would roughly follow.


And there you have it! Again, this didn't turn out quite the way i wanted it to, but im not to unhappy. Now i look at it i wished i used a lighter set of colours, something more sandy rather than muddy! Anyways i hope some of you find this interesting, and i really do recommend investing in Imperial Armour Masterclass; its got a wealth of painting techniques that can transform your models!

Laters

Tuesday, 30 November 2010

Site Revamp

Getting a bit bored with my out-of-date template design! So me and my lovely girlfriend sat down and crafted a new shiny site! Enjoy!

Last Vendetta Complete; A Few More Kabalites

Well, i don't think I'm ever going to buy, paint, or even look at another Valkyrie kit again! This is the 6th and final one for my Elysian list, and I'm very glad that they're all done. Same colour scheme, weathering, etc as the other 5!


Thanks for the scenic base suggestion from Col. Corbane! I really liked the idea of the cracked wadi, and this is what i went with! I used some modeling styrene to make the 'frame' of the wadi, and this was then covered in MilliPut for texture and detail. The little streams were then easy to sculpt into the wall of the wadi. The floor of the wadi will be covered in Water Effects and will hopefully resemble a shallow stream! I'll paint the base accordingly before i apply the water effects. I would really like to add some vegetation to this base as well, but i haven't got any in my bits box at the moment. I think I'll come back to that at a later date.


The back of the Wadi was covered up with plasticard, pinned and glued in place. This will be painted black.


And finally some more on the Kabalite Warriors. In my last post I'd said that I'd have these guys all done by the end of today! But i didn't realise how soul destroying double highlighting all those angles on the armour plating would be! So i limited today's work on them to 5 warriors to preserve my sanity! I'm liking the snow bases even more in the group shot, and i really think it makes the models a little more interesting!

Monday, 29 November 2010

Dark Eldar Test Model

I completed my test model for the Dark Eldar today! As i described in my last post, i went with the icy blue scheme to tie in with the winter snow base. The blue trim isn't quite as icy as I'd pictured, but I'm happy with it. I'm also quite happy with the base, but i may do a little more work on the granite bits - they seem a little basic!


And here's the rest of the squad well on their way to completion! They should be done by the end of tomorrow! Please, let me know what you think!

Sunday, 28 November 2010

Rise of the Kabal

Well, im glad to be home after a FREEZING week at Centre Parcs in Longleat! I recomend that no-one goes there this time of year!!!

I have admittedly been firmly bitten by the Dark Eldar bug, and I'm finally making preparations to start building a new Dark Eldar army! I have been waiting for about a week and a half for some snow bases to come from the guys at Micro Art Studios (who are based in Poland!) and they arrived on Friday! So this evening saw some frantic Kabalite building!

Here are the bases i received, five 25mm Winter Shale Bases as well as two 40mm ones. They're nothing that special, but it'll make the models a little more interesting. I'll see how they paint up and decide if i want to buy some more.


So far I'm happy with the bases as the models seem to fit nicely. The squad below is one of two identical squads: 1 Splinter Cannon and 9 Kabalite Warriors with Splinter Rifles.


I'm going to go with a black and blue colour scheme; black armour with a striking blue edge to it. This is why i decided to go with snow bases, to keep a cold feel to the army! Plus, I've never done an army on snow bases, so it'll make a nice change!

As well as the bases arriving, i also received the guy who will stand in as my Archon. As much as i liked the new GW Archon, i wanted to have a look around the other miniature studios to see if there was anything that stood out a bit. This is the guy i found and he was purchased from Studio McVey, based in the UK. The pics looked amazing and the quality of the model is superb! The dynamic pose, the malicious looking blades and most importantly, the pointy ears, all made this guy a great candidate for an Archon! I will have to do a bit of work on him to make him a true Dark Eldar, but it wont be much. I will have to ditch one of the punch-daggers and replace it with a Splinter Pistol as per my army list, along with a Phantasm Grenade Launcher on the back. I'm going to lavish lots of attention on this guy, its the least the model deserves! I highly recommend checking out Studio McVeys website as they're are some great mini's on there!


This is the picture from the Studio McVey website which gives you a clearer picture of what he'll look like. I'll probably mount him on one of the 40mm bases, but I'm not sure it I'll include the stalactite bits.


And finally, my 1750pts Dark Eldar Army List. As usual I've gone for as much balance as possible. I like to take to the field being able to cope with as many threats as possible! Let me know what you think!

Dark Eldar 1750pt Army List
HQ
Archon – 110pts

• Archon with Splinter Pistol-60pts

• Venom Blade-5pts

• Combat Drugs-10pts

• Ghostplate Armour-10pts

• Phantasm Grenade Launcher-25pts

Leleth Hesperax – 175pts
 Elites
Incubi – 150pts

• 5 Incubi–110pts

• Klaivex Upgrade-15pts

• Bloodstone – 15pts

• Murderous Assault-10pts

Raider Transport – 70pts

• Disintegrator Cannon–free

• Flickerfield-10pts


Kabalite Trueborn – 190pts

• 10 Trueborn-120pts

• 6 Shardcarbines-30pts

• 2 Blasters-30pts

• 2 Shredders – 10pts

Raider Transport – 70pts

• Dark Lance–free

• Flickerfield-10pts


Troops
Kabalite Warriors – 100pts

• Splinter Cannon-10pts


Kabalite Warriors – 100pts

• Splinter Cannon-10pts


Wyches – 135pts

• 10 Wyches-100pts

• Hekatrix with Venom Blade-15pts

• 2 Hydra Guntlets-20pts

Raider Transport – 60pts

• Disintegrator Cannon-free

• Shock Prow – 5pts


Wyches – 125pts

• 9 Wyches-90pts

• Hekatrix with Venom Blade-15pts

• 2 Hydra Guntlets-20pts

Raider Transport – 60pts

• Dark Lance –free

• Shock Prow – 5pts

Fast Attack
Reavers – 162pts

• 4 Reavers with Splinter Rifles-132pts

• 2 Reavers with Blasters-30pts

Heavy Support
Ravenger – 115pts

• 3 Dark Lances

• Night Shield-10pts

Ravenger – 115pts

• 3 Disintegrator Cannons

• Night Shield-10pts

1747pts


So tomorrow will see a lot of Kabalite painting and work on the final Vendetta gunship for the Elysians (that kindda got pushed to the back of the painting que!)

Laters

Friday, 19 November 2010

The Last Valkyrie; Any Ideas for a Flying Base??

Well here's an original picture - yet ANOTHER Valkyrie on the painting table! Fortunately this is the last one for the Elysians, and will be the second of the Vendetta Gunships.

I've has this guy for a few days now, but my Army Painter Primer ran out halfway though spraying (DOH!) so I've been waiting for another! That came today, and with the completion of the prime, the basic colours are now on.


My trouble isn't with the Vendetta though, its with its base. This will be the 6th scenic flying base I've done for the army, but I'm out of ideas!! What i need is a cool desert themed idea to go on this base, and this is where you come in, dedicated followers! If you have any ideas for the base, then please let me know! I'm really stuck on this one, so any help would be greatly appreciated!

Thursday, 18 November 2010

Terrain: Manufactorum

Firstly, I took my Elysians for their first outing yesterday. Two games, one draw one win. Started with everything on the table for the first game which was Objectives with Standard Deployment. That didnt go to well, but the ensuing carnage ensured that not a single objective was claimed! Second game, Capture and Control with Standard Deployment. This time i kept all but the two Vendettas and a Vulture in reserve. The results were fantastic, desimating a Blood Angels army and retaining contol of my objective, while he left his objective to try and engage me. Units in reserve from no on methinks!

While im waiting for some more Elysian Drop Sentinels to arrive, i decided to make a start on a modular gaming table. This ideas been on the back burner for AGES, and with a few spare buildings lying around i took this oppotunity to make a start.

Each building will be set on a 1ft sqaure board, giving me a total of 24 squares! Quite a lot of building to be done, but i'll set a few on 2ft boards as well to make some really grand buildings! But for now i'll be keeping it small.

So, here is the first one, a Mechanicus Manufactorum. Here are the work in progress pictures:


And here is the painted building. Kept it nice and simple, a very dark grey basecoat (some random spray from Halfords!) with a Fortress Grey drybrush. Then i just painted a few of the metalic areas with Boltgun Metal and Dwarf Bronze. The whole model was then airbrushed with black oil paint diluted in white spirit for shading. A bit of rust weathering powder on the exposed metal and random areas and we're done!


Quite like this terrain business, might get some more on the go! Watch this space.